![Diane Poremsky [Outlook MVP]](http://www.outlook-tips.net/images/2014/MVP_BlueOnly.png)
Many users prefer using another email client for email but want to use Outlook for calendar and tasks. To avoid problems, such as Outlook downloading mail and deleting it from your mail server, it's generally better to create a "no mail" profile.
In Outlook 2016 and newer, you need use use the command line switch, /PIM, to start Outlook with a new, no mail, profile.
Press Windows key + R to open the Run command, then type (or paste) Outlook.exe /PIM profilename and then click OK. Note: if the profile name you use contains spaces, you'll need to use quotes around it: Outlook.exe /PIM "profile name"
In some older versions of Outlook you could select 'No mail" when creating the profile. In Outlook 2003 and 2007, you need to step through the profile creation and cancel it, instead of adding email account information.
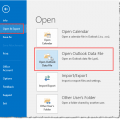
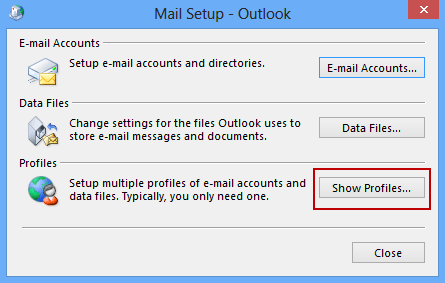
Go to Control Panel, Mail to open the Mail profile applet
- Click on Show Profiles
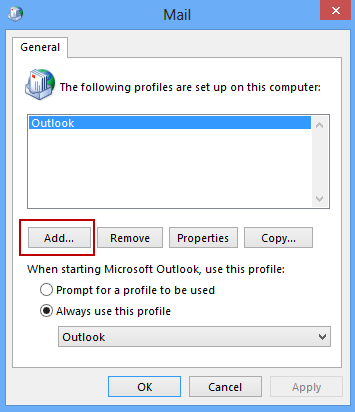
- Click Add and enter a name for your new profile.
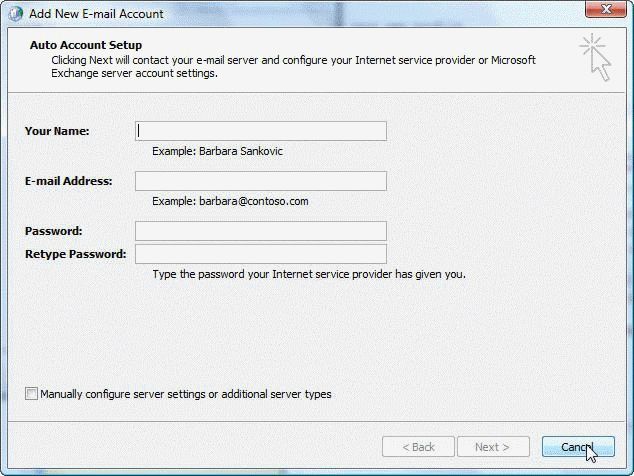
- When the Add New Account screen comes up to enter your email account information, click Cancel.

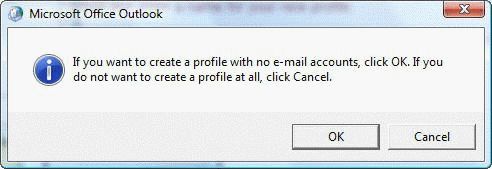
- A dialog comes up that asks If you want to create a profile with no e-mail accounts, click OK. If you do not want to create a profile at all, click Cancel.
- Click Cancel and exit the new profile dialog.
Published January 18, 2011. Last updated on September 20, 2020.