![Diane Poremsky [Outlook MVP]](http://www.outlook-tips.net/images/2014/MVP_BlueOnly.png)
Need a new Outlook 2002 or Outlook 2003 profile? See Creating a New Outlook 2002/2003 Profile. For Outlook 2000, see Creating a New Outlook 2000 Profile
If Outlook is open, close it.
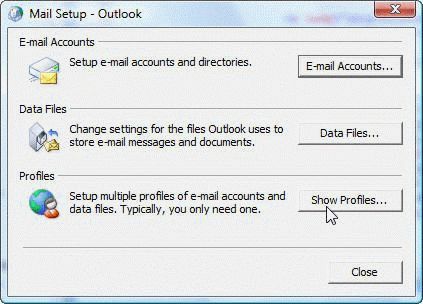
- Go to Control Panel, Mail – it's in the User Accounts category or switch to Classic view. In 64-bit versions of Windows you'll find Mail under the 32 bit group. Alternately, you can right click on the Outlook icon on the Start menu and choose Properties.
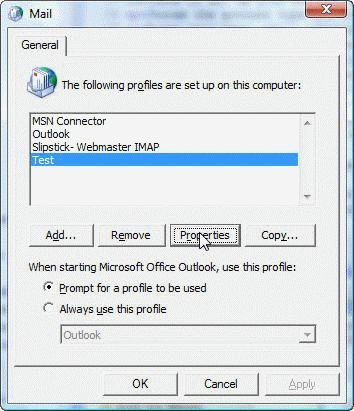
- Click the Show Profiles button.
- Click Add to create a new profile. If you are making a new profile due to problems with the old profile, do not copy the old profile and do not delete it. Make a new profile using a new name.
- Choose a unique but descriptive name for your profile.
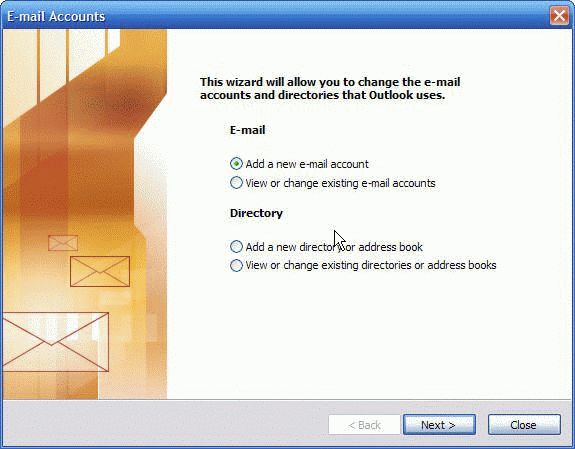
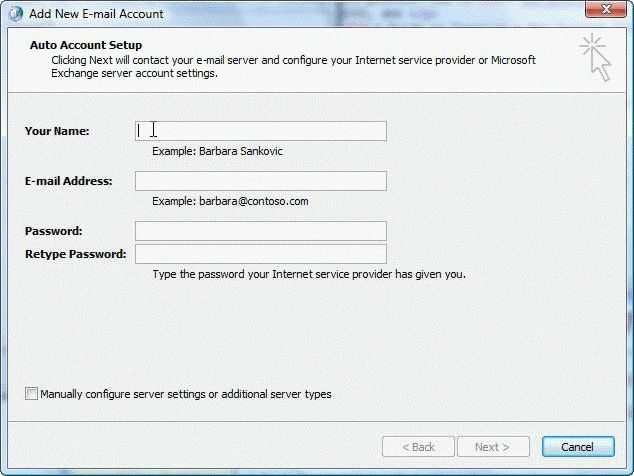
- Enter the name you want to use for your display name, your email address, and your password. If your mail provider supports autodiscovery Outlook will set your account up for you. (Most large ISPs support autodiscovery.)

Manually Create Account
If your ISP doesn't support autodiscovery or you want to set up an account using other server options, click the "Manually configure…" checkbox at the bottom of the dialog to set up your account yourself.
- Choose the account type and click Next.
- Enter your name, email address and mail server names as well as your password. Most mail servers do not require SPA, so leave it unchecked unless your ISP tells you to use it.
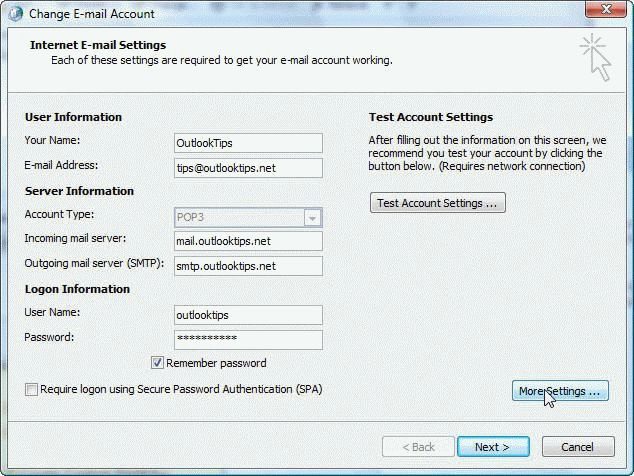
Configure additional server options in the More Settings dialog.
- Click More Settings to configure a Reply to Address different from your email address on the first screen, configure outgoing server authentication, specific Internet connection properties, and alternate ports for incoming and going email.
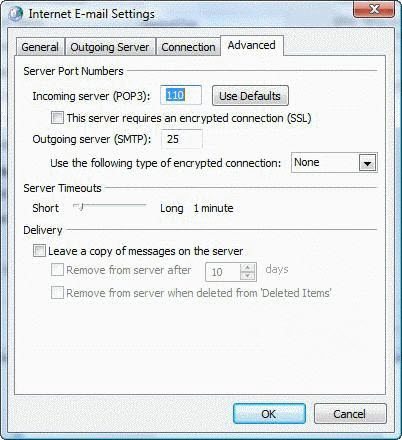
- If you need to leave mail on the server, go to More Settings, Advanced tab.
- Click Ok when finished configuring More Settings then click Next to Exit the new profile wizard.
Use Existing PST file
If you have an Outlook data file (*.PST) you want to use with your new profile, follow these steps immediately. Do not open Outlook until you change the PST.
- Select the newly created profile then click Properties.
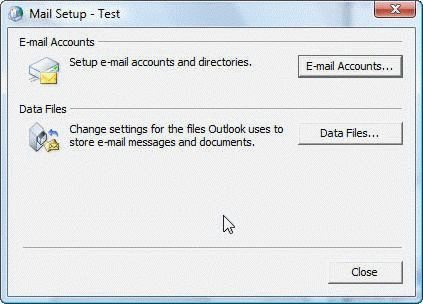
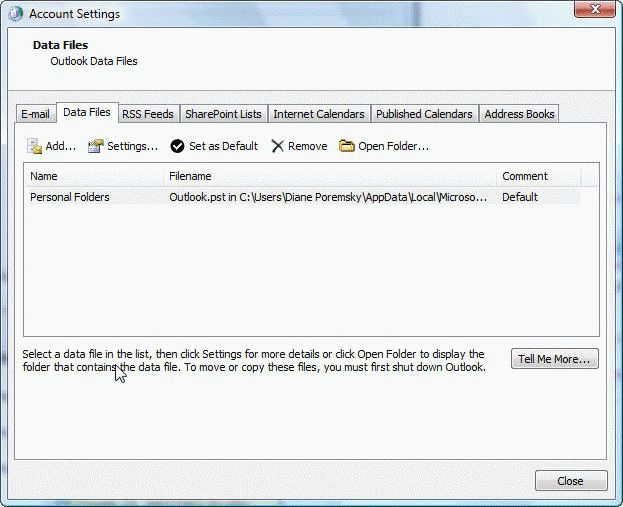
- Click Data files button to open the Account Settings dialog to the Data files tab. (Either button opens the Account Settings dialog.)
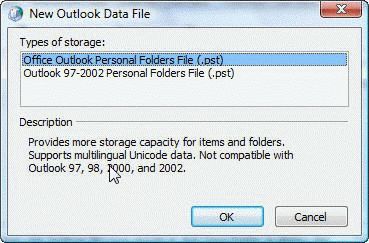
- Click Add then browse to your existing PST file.
- If the PST is a native Outlook 2003/2007 file type, choose the top entry for Outlook Personal File. (It is highly recommended that you use Outlook 2003/2007 PST format for your default PST). Click Ok
- Select your existing PST file.
- You can enter a friendly name or just click Ok to return to the Account Settings dialog.
- Click the Set as Default button.
- Select the PST Outlook created when it created the profile and click Remove. If you want, click Open folder to find and delete this PST.
Close the dialogs and start Outlook.
Published May 15, 2011. Last updated on May 5, 2017.